Follow Me On Social Media!

Make-Ahead Latkes: The Stress-Free Secret to Hanukkah Joy
These Make-Ahead Latkes Are the Secret to a Stress-Free Hanukkah
A Personal Story About Latkes
Gathering around the table during Hanukkah always brings back cherished memories, especially the sight and smell of freshly made latkes. I remember the excitement as my grandmother would grate potatoes and onions, her hands skillfully maneuvering the box grater while the scent of sizzling oil wafted through the kitchen. These make-ahead latkes are a game changer; they allow you to relive those moments without the chaos of last-minute preparations.
Incorporating make-ahead latkes into your Hanukkah traditions can transform the way you celebrate this festive season. Preparing them ahead of time means you can focus on the traditions that matter most—lighting the menorah and spending quality time with family and friends. Imagine pulling crispy, golden latkes from the oven, ready to be served with applesauce and sour cream, while your guests admire your ability to juggle it all with grace.
Make-Ahead Latkes: Tips for Success
-
Prepping the Potatoes: Use starchy potatoes like Russets for a crispier texture. Peel, grate, and soak them in cold water to prevent oxidation. You can even grate them a day in advance; just store them submerged in water in the fridge.
-
Storage: Once cooked, latkes can be cooled and stored in an airtight container. When you’re ready to serve, simply reheat them in the oven for that freshly fried taste without the fuss.
-
Freeze for Future Celebrations: For those who appreciate being ahead of the game, latkes freeze exceptionally well. Just ensure they’re completely cooled before placing them in a freezer-safe bag. This way, you can extend your Hanukkah joy well beyond the first night.
-
Customize Your Toppings: Traditional toppings like applesauce and sour cream are delightful, but feel free to experiment! Try Greek yogurt with herbs or even a spicy apple chutney for a modern twist.
Embrace the joy of make-ahead latkes this Hanukkah, and watch as they seamlessly blend into your celebrations, making each bite a delicious memory wrapped in tradition.

Key Ingredients for Make-Ahead Latkes
Potatoes: At the heart of make-ahead latkes lies the humble potato. I recommend using starchy varieties like Russets or Yukon Golds to achieve that perfect crispy texture. Don’t skimp on the peeling and grating—freshly grated potatoes yield the best results!
Onions: A must-have for flavor, onions bring a sweetness and depth to your latkes. I typically use yellow onions for their balance of flavor, but feel free to experiment with sweet onions for a milder taste.
Eggs: Binding agents are crucial in achieving that perfect consistency. A couple of eggs mixed into your potato mixture not only helps hold everything together but also lends a rich flavor.
Flour: Keep your latkes from falling apart by adding just enough flour. It acts as a binder and absorbs moisture, allowing for that crave-worthy crunch.
Salt and Pepper: Simple seasoning elevates your latkes. I usually add a generous pinch of salt and a dash of pepper, adjusting to taste for a zesty kick.
Oil: The right oil can make or break your latkes. Opt for vegetable oil or canola oil, as they have a high smoke point, perfect for frying until golden brown.
Why You’ll Love This Recipe
Versatility and Ease
These make-ahead latkes are your ticket to an effortless Hanukkah celebration. Latkes, filled with their crispy texture and savory flavor, are a family favorite, but the thought of making them fresh on the big night can feel overwhelming. That’s where this recipe shines: it allows you to prepare them in advance, freeing you to spend quality time with loved ones instead of being tied to the kitchen.
Imagine gathering with friends and family, enjoying your warm, golden-brown latkes while reminiscing about cherished moments. These latkes are not only delicious but also incredibly versatile. You can serve them with traditional toppings like applesauce and sour cream or get creative with toppings like smoked salmon or even a spicy aioli.
Plus, their make-ahead nature means you can whip up a large batch, refrigerate or freeze them, and they’ll still taste as fresh as when they were first cooked. This flexibility embraces the relaxed spirit of the holiday, allowing you to entertain with ease. You’ll love how these make-ahead latkes transform your Hanukkah into a stress-free and memorable occasion!
Cooking Tips and Notes
Creating the perfect make-ahead latkes isn’t just about following the recipe; it’s about these little details that can elevate your Hanukkah feast from great to unforgettable.
Preparation Tips
-
Choose the Right Potatoes: For your latkes, I recommend using starchy potatoes like russets or Idaho. They yield a crispier texture when fried. Ensure you grate them just before cooking to minimize oxidation and preserve that fresh flavor.
-
Drying is Key: After grating, place your potatoes in a kitchen towel, twisting and squeezing to remove excess moisture. This step is essential for getting that crispy exterior.
-
Onion Flavor: Whether you prefer finely minced or coarsely grated onions, the choice is yours. Just remember, a good balance of onion enhances the latkes but too much can overpower the potato.
Frying Tips
-
Oil Temperature Matters: Preheat your frying oil to about 375°F (190°C). Dropping a small amount of batter should make it sizzle immediately. If the oil isn’t hot enough, the latkes can absorb too much oil and become greasy.
-
Don’t Crowd the Pan: Fry in smaller batches to maintain oil temperature and achieve a perfect golden-brown color. Give each latke enough space to crisp up beautifully.
-
Draining: After frying, place latkes on a paper towel-lined plate to absorb extra oil. This keeps them crispy for longer.
By implementing these tips, you’ll be well on your way to making make-ahead latkes that will delight your guests and make your Hanukkah stress-free. Enjoy the celebration!
Serving Suggestions
Creating make-ahead latkes isn’t just about ensuring ease during Hanukkah; it’s also about taking the opportunity to elevate your dish. Let’s explore some delightful pairings and creative twists that will make your latkes a star of the table.
Traditional Pairings
Start with the classics! There’s just something magical about serving your golden, crispy latkes with:
- Applesauce: The sweetness of applesauce beautifully contrasts the savory flavors of the latkes.
- Sour Cream: A dollop of rich sour cream adds a creamy texture that enhances each bite.
- Chives or Green Onions: Sprinkle these fresh herbs on top for a pop of color and a slight oniony zing.
Creative Twists
Feeling adventurous? Here are a few unique toppings that can transform your make-ahead latkes into a gourmet experience:
- Smoked Salmon: Create a decadent appetizer by adding a slice of smoked salmon and a sprig of dill.
- Mango Chutney: A sweet and spicy chutney can add an unexpected tropical flair.
- Sriracha Aioli: For a bit of heat, drizzle this spicy aioli over your latkes for an exciting kick.
With these serving suggestions, your latkes will not only taste incredible but also impress your guests throughout the holiday season.

Time Breakdown for Make-Ahead Latkes
When preparing make-ahead latkes, understanding the time commitment can significantly reduce holiday stress. Crafting these delicious potato pancakes doesn’t have to be a last-minute frenzy. Here’s a handy breakdown that will help you seamlessly integrate latke-making into your Hanukkah plans.
Preparation Time
Allocating about 30 minutes for prep allows you to peel, grate, and mix the potatoes and onions with the perfect seasonings. This is the moment to enjoy the process while imagining family gatherings around the table.
Cooking Time
Once ready, frying the latkes takes around 20-25 minutes. Keep in mind, you can fry a batch while others rest or stay warm in the oven!
Total Time
In just under an hour, you’ll have a batch of crispy, golden make-ahead latkes that can be enjoyed throughout the festivities. Prepare them in advance and embrace the celebrations without worry!
Nutritional Facts for Make-Ahead Latkes
When celebrating the joy of Hanukkah, embracing delicious make-ahead latkes not only elevates your gathering but also simplifies your preparation process. These crispy delights pack a punch in flavor and are surprisingly nutritious!
Calories
Each serving of these make-ahead latkes contains approximately 150 calories. This allows you to enjoy a satisfying side dish without overindulging.
Carbs
With about 20 grams of carbs per serving, these latkes provide a good source of energy, perfect for powering through your festive celebrations.
Protein
You’ll find around 3 grams of protein in each serving, making them a delightful addition to your holiday meal, rounding out your plate and helping you feel fuller longer.
Enjoy these latkes that bring both taste and nutrition to your Hanukkah celebrations!
FAQs About Make-Ahead Latkes
Making make-ahead latkes can be a game-changer for your Hanukkah celebrations, allowing you to focus on family and festivities rather than cooking in the kitchen. It’s no surprise that many people are curious about the best ways to prepare these crispy delights in advance. Here are some common questions answered.
Can I make latkes ahead of time?
Absolutely! You can prepare your latkes in advance. Simply follow the recipe until the frying stage. Once the latkes are formed but not yet cooked, place them in a single layer on a baking sheet lined with parchment paper. Cover them with plastic wrap and refrigerate for up to 24 hours. This allows you to fry them fresh right before serving, preserving their signature crispiness.
How do I freeze latkes?
Freezing is another excellent option! To properly freeze your make-ahead latkes, ensure they are completely cooked and cooled. Lay them flat on a baking sheet and freeze until solid. Then, transfer the frozen latkes to a resealable bag or airtight container, separating them with parchment paper. They can be stored for up to three months.
What is the best way to reheat latkes?
The best approach to reheat latkes is in the oven for that crispy texture. Preheat your oven to 400°F (200°C), place the latkes on a baking sheet in a single layer, and bake for about 10-15 minutes, flipping halfway through. You can also reheat them in an air fryer for a quicker option, ensuring they regain their crunchiness without drying out.
By planning ahead with these helpful tips, you can enjoy delicious, stress-free make-ahead latkes this Hanukkah!
Conclusion on Make-Ahead Latkes
Embracing make-ahead latkes is your ticket to a relaxing and joyful Hanukkah celebration. Preparing these delicious potato pancakes in advance means you can spend more time with family and friends and less time in the kitchen on the big day. Not only do they reheat beautifully in the oven, but the flavors also deepen, bringing out a richer taste that everyone will love.
By planning ahead and using the right ingredients, you ensure that your latkes are crispy on the outside and tender on the inside. This holiday, indulge in the savory delights of latkes without the last-minute stress—your loved ones will thank you!
Print
Latkes
- Total Time: 45 minutes
- Yield: 4 servings 1x
- Diet: Vegetarian
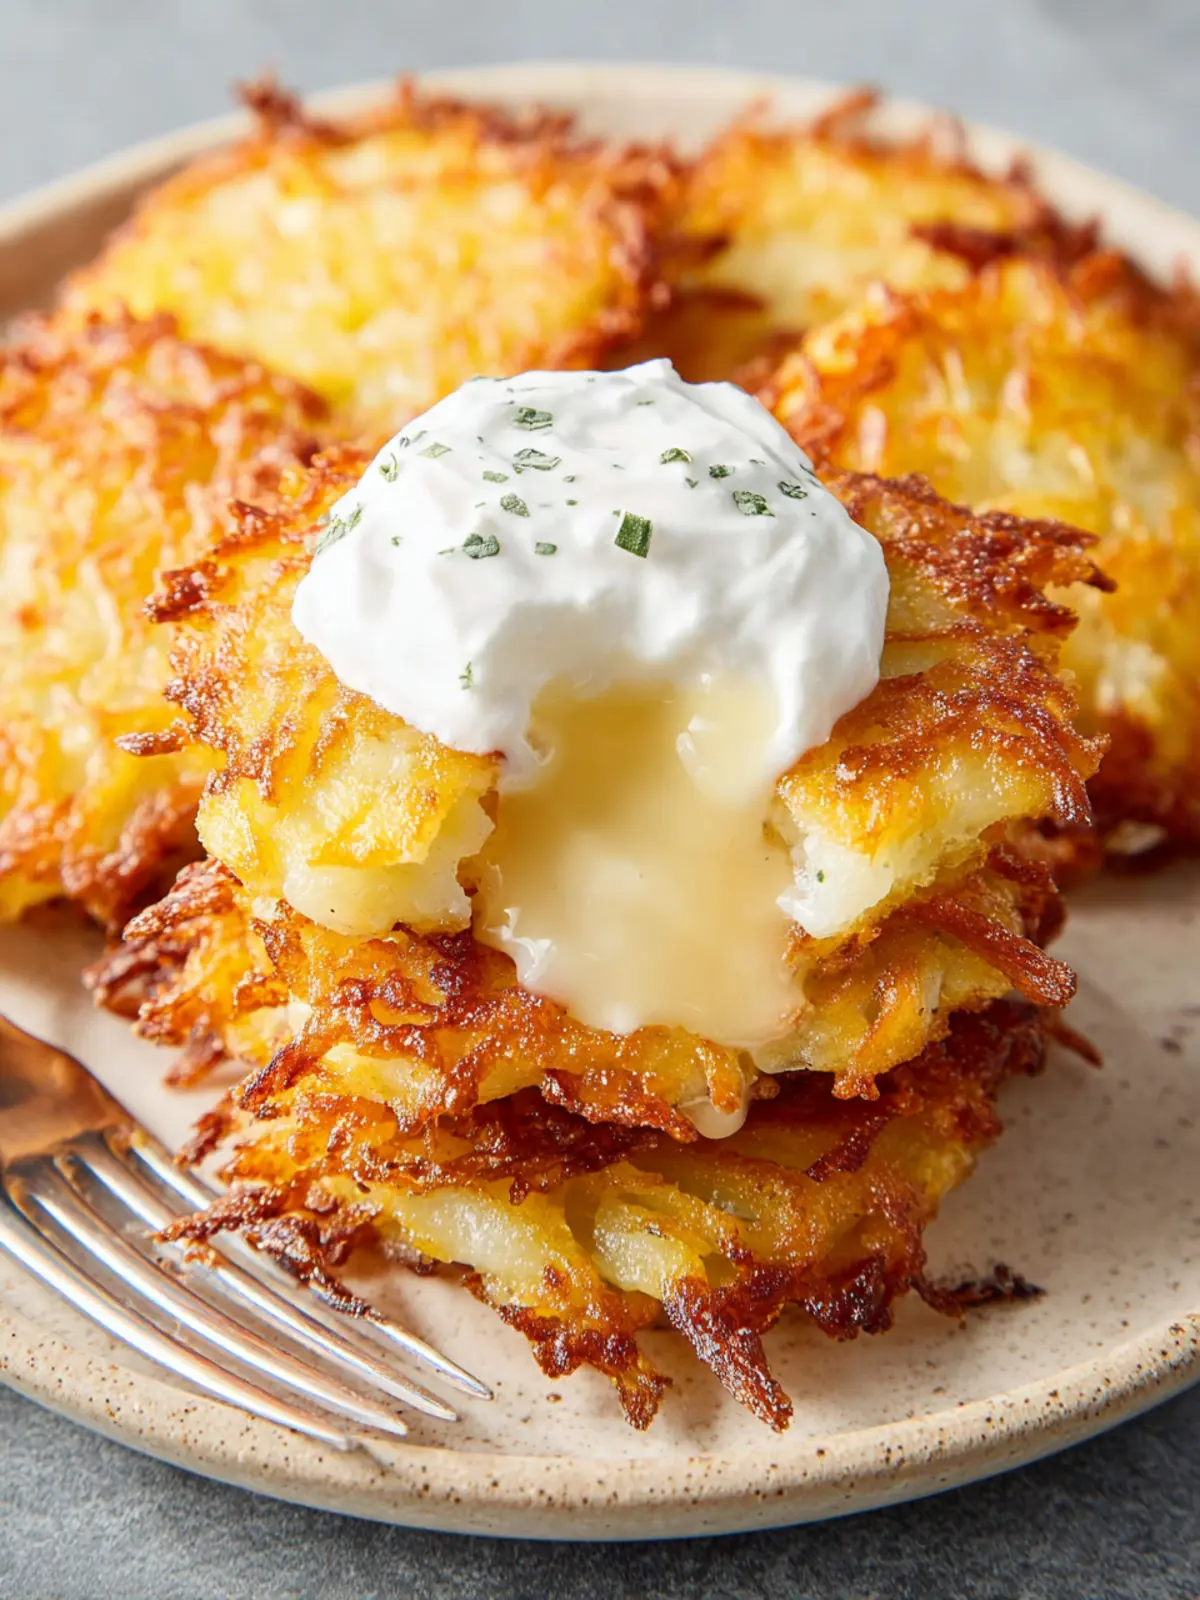
Description
Crispy and delicious potato fritters perfect for serving with applesauce or sour cream.
Ingredients
Scale
- 3 pounds russet potatoes, peeled
- 1 large onion, halved
- 2 large eggs
- 1/4 cup all-purpose flour
- 2 teaspoons salt
- 1 teaspoon baking powder
- 1/2 to 1 cup vegetable oil, for frying
- Applesauce and/or sour cream for serving, optional
Instructions
- With the shredding disk of a food processor or the large holes of a box grater, shred the potatoes and onion. Transfer to a large bowl of ice water and soak for at least 10 minutes.
- While the shreds are soaking, put a large skillet, cast iron if possible, on the stove and cover the bottom with oil—reserve some oil to add later as needed. Do not turn on the burner yet. Line two rimmed baking sheets with paper towels and place them nearby.
- Use your hands or a slotted spoon to transfer the shredded potatoes and onions to a colander, then pour out the liquid and wipe the bowl dry. Spread a clean kitchen towel on the counter and add about one-third of the shredded vegetables. Roll up the towel and squeeze over the sink to remove as much liquid as possible. Empty the contents of the towel back into the now-empty bowl and repeat with the remaining potatoes and onion.
- Add the eggs, flour, salt, and baking powder to the bowl. Use clean hands to mix thoroughly.
- Set the burner under the skillet to medium-high and heat the oil. To test if the oil is ready, slip in a shred of potato—if it bubbles immediately, you’re good to go. Use two soup spoons to carefully drop in about 2 tablespoons of the potato mixture into the skillet at a time. Flatten lightly with the back of a spatula and add more latkes. Do not crowd the pan. Cook until the undersides are pale golden and they’re firm enough to flip, 2 to 4 minutes. Fry the other side for 2 to 4 minutes more, then transfer to one of the paper towel-lined baking sheets. Repeat frying with the remaining potato mixture, adding oil to the pan in between batches if the level looks too low and turning down the heat if the latkes are browning too quickly, especially around the edges.
- Allow the latkes to cool. To serve within 1 or 2 days: Layer on paper towels in an airtight container and refrigerate. For longer storage, freeze them: Arrange the cooled latkes in a single layer on wax paper-lined baking sheets and pop them in the freezer. Once frozen, transfer to a zip-top freezer bag.
- When ready to serve, preheat the oven to 425°F. Place cooling racks inside rimmed baking sheets and lay out the latkes on them close together, but not overlapping. Do not defrost frozen latkes—bake them straight from the freezer. Bake until the latkes are crunchy and deep golden brown around the edges, 18 to 24 minutes if refrigerated, 20 to 28 minutes if frozen, flipping halfway through. Serve with applesauce and sour cream, if desired.
Notes
- These latkes can be made ahead of time and frozen for later use.
- Ensure that the potatoes are properly dried before frying to achieve maximum crispiness.
- Adjust the amount of oil as needed while frying to prevent the latkes from sticking.
- Prep Time: 15 minutes
- Cook Time: 30 minutes
- Category: Side Dish
- Method: Frying
- Cuisine: Jewish
Nutrition
- Serving Size: 2 latkes
- Calories: 200
- Sugar: 1g
- Sodium: 300mg
- Fat: 12g
- Saturated Fat: 2g
- Unsaturated Fat: 8g
- Trans Fat: 0g
- Carbohydrates: 20g
- Fiber: 2g
- Protein: 4g
- Cholesterol: 50mg