Follow Me On Social Media!

Old-Fashioned Candy: Grandma’s Irresistible Christmas Treats
Introduction to The Old-Fashioned Candy My Grandma Always Made for Christmas
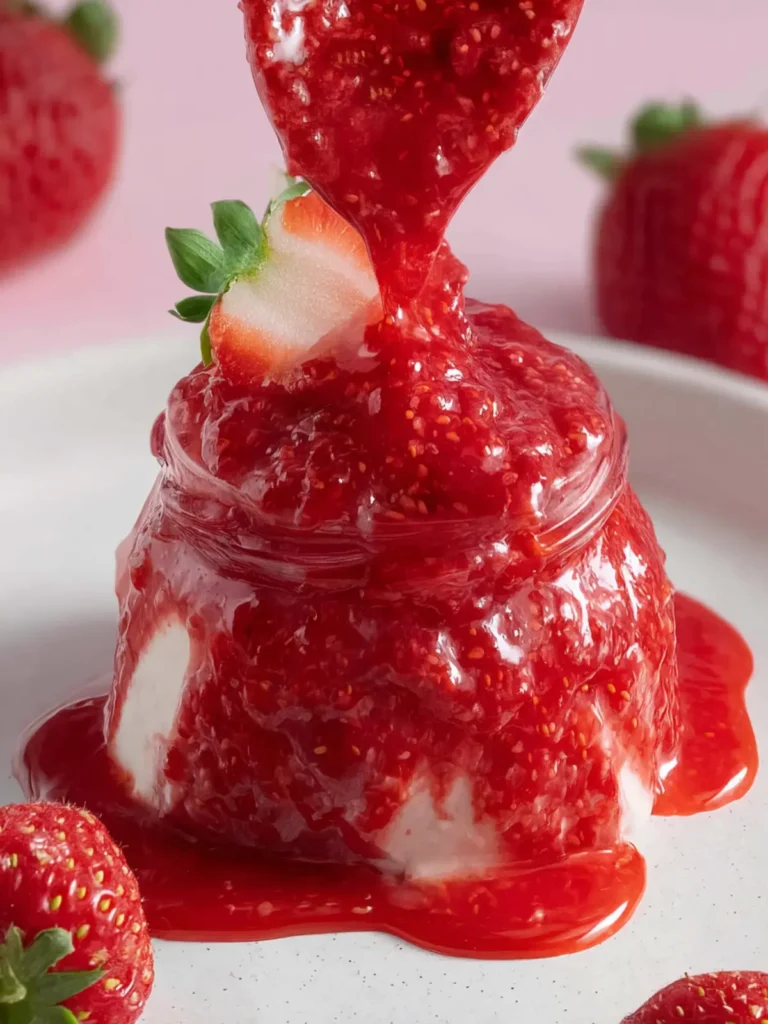
The old-fashioned candy my grandma always made for Christmas holds a special place in my heart, like a cozy quilt woven from cherished memories. Every December, our kitchen transformed into a candy-making sanctuary, bustling with laughter and the sweet aroma of melting sugar. I can still picture my grandma, her flour-dusted apron and twinkling eyes, guiding me through her time-honored recipes with stories that danced through the air like the sweet scents around us.
As soon as the first snowflakes began to fall, the anticipation would build. Making this candy wasn’t just about the end result; it was a family affair, infused with traditions that brought us closer together. My grandma had a magical way of turning simple ingredients—sugar, corn syrup, peanuts, and chocolate—into treasures. Watching her work was like witnessing a culinary wizard cast spells of sweetness while imparting life lessons along the way.
Have you ever thought about how certain flavors can instantly transport you back to your childhood? For me, the crunch of a homemade peanut brittle or the smooth melt of fudge invokes vivid images of sitting at the kitchen table, giggling with cousins and sneaking extra pieces when no one was watching. It was a ritual that extended beyond the candy itself; it was about connection—with family, with heritage, and with the very essence of the holiday spirit.
In this blog post, I’ll guide you through the process of making this beloved old-fashioned candy. So roll up your sleeves and get ready to create not just delectable treats, but also heartwarming memories that you’ll cherish for years to come. Because in the end, isn’t that what the holiday season is really about? Join me as we unpack this delicious recipe, and together, let’s honor the traditions that make Christmas truly special.

Key Ingredients for The Old-Fashioned Candy My Grandma Always Made for Christmas
Old-fashioned candy evokes sweet memories of festive gatherings and cheerful holiday spirit. My grandma’s recipe, passed down through generations, never failed to bring a sense of nostalgia. Here’s a closer look at the essential ingredients that make this candy a beloved tradition.
-
Sugar: The foundation of any candy, granulated sugar is key for that delightful sweetness. It caramelizes beautifully when heated, creating a rich flavor that’s simply irresistible.
-
Butter: I always use unsalted butter to enhance the candy’s creaminess without adding extra salt. This adds depth to the flavor while ensuring a smooth texture.
-
Evaporated Milk: This gives the candy a luscious, creamy consistency and is essential for that melt-in-your-mouth texture. It also helps in achieving the soft, fudgy quality we all love.
-
Vanilla Extract: A splash of pure vanilla adds warmth and a homemade touch to the candy. It’s the secret ingredient that brightens up the overall flavor profile.
-
Nuts: While optional, chopped walnuts or pecans introduce a delightful crunch and richness, balancing the sweetness beautifully.
Each ingredient plays a vital role in reviving those cherished holiday memories, and I can’t wait for you to experience the same joy!
Why You’ll Love This Old-Fashioned Candy
When it comes to nostalgic sweets, nothing quite compares to the old-fashioned candy my grandma always made for Christmas. It’s more than just a recipe; it’s a cherished memory shared around our family table, where stories and laughter flowed as freely as the sugary treats. Imagine the delightful aroma wafting through the house, drawing everyone in, and sparking smiles—this candy is truly a holiday treasure.
A family favorite that’s easy to make
One of the best aspects of this old-fashioned candy is its simplicity. You don’t need to be a master chef to whip it up! Here’s why it’s a family favorite:
-
Quick Preparation: With minimal ingredients and a straightforward process, you can be enjoying this candy in no time. Perfect for busy holiday schedules!
-
Tradition and Comfort: Making this candy together can become a lovely tradition, allowing loved ones to bond over shared stories and special moments.
-
Customization: Feel free to experiment with flavors or add-ins. Whether it’s a hint of mint or a sprinkle of nuts, it’s yours to make uniquely special.
-
Perfect for Gifting: Wrap it up in festive packaging for a thoughtful homemade gift that your friends and family will adore.
Trust me, once you take that first bite, you’ll understand why this old-fashioned candy holds a special place in my heart—and soon, in yours too!

Variations of The Old-Fashioned Candy
In the spirit of holiday nostalgia, the old-fashioned candy evokes charming memories of simpler times, often filled with the laughter of loved ones gathered around a kitchen. While Grandma’s recipe is undoubtedly special, you can certainly explore creative twists that add a modern flair to this time-honored treat.
Creative Twists on a Classic
-
Nutty Chocolate Delight: Incorporate chopped nuts like pecans or walnuts into the mixture for added crunch and richness. The toasted flavors meld beautifully with the sweetness of the candy.
-
Spiced Citrus Version: Infuse your candy with warm spices such as cinnamon or nutmeg, and add a hint of citrus zest. It brightens the flavor profile and adds a festive touch that’s perfect for celebrations.
-
Decadent Chocolate Coating: Dip pieces of old-fashioned candy in melted dark or white chocolate. This creates a beautifully glossy finish and a lush, creamy texture that elevates the whole experience.
-
Fruit Swirl: Experiment with pureed dried fruits such as apricots or cranberries. Swirling in the fruit gives your candy a refreshing taste while maintaining that classic, chewy consistency.
With these variations, you can keep the heart of Grandma’s recipe alive while adding your personal touch—making your version of old-fashioned candy uniquely yours!
Cooking Tips and Notes for The Old-Fashioned Candy
Making old-fashioned candy can transport you straight to your grandmother’s kitchen, filled with the warm aromas of sugar and nostalgia. To help you recreate that delightful experience, here are some tips for achieving perfect results.
Expert Advice for Perfect Results
-
Temperature Matters: Candymaking is all about precision. Invest in a kitchen thermometer to ensure your sugar syrup reaches the right temperature. For most old-fashioned candy recipes, a soft ball stage of 234-240°F is ideal.
-
Use Quality Ingredients: The best old-fashioned candy relies on high-quality ingredients. Opt for pure vanilla extract, fresh nuts, and real butter to elevate your sweet creation.
-
Prep Your Workspace: Before you start, make sure your tools are clean and organized. Grease your pans or line them with parchment paper to prevent sticking.
-
Stay Present: When cooking sugar, it’s vital to keep an eye on the pot. Sugar can go from perfect to burnt in seconds, so stir consistently and avoid distractions.
-
Let it Cool Properly: Once your candy reaches the desired consistency, allow it to cool completely before cutting or packaging. This helps maintain the texture and makes slicing easier.
Give these tips a try, and you’ll find yourself crafting old-fashioned candy that rivals your grandma’s every time!

Serving Suggestions for The Old-Fashioned Candy
When I think about the old-fashioned candy my grandma always made for Christmas, it brings back wonderful memories of family gatherings filled with laughter and joy. This nostalgic treat is not only a delight on its own but also pairs beautifully with the holiday spirit.
Pairing Your Candy with Holiday Cheer
To enhance your experience of enjoying this old-fashioned candy, consider these delightful serving suggestions:
- Gift Wrapping: Package pieces of candy in clear bags tied with festive ribbons. They make perfect homemade gifts for friends and neighbors.
- Hot Beverage Pairings: Enjoy your candy alongside a warm cup of cocoa or spiced cider. The sweetness of the candy complements the warmth of these drinks.
- Dessert Table: Create a charming dessert display at your holiday gathering by including your old-fashioned candy alongside cookies and pastries for a sweet treat assortment.
- Scented Candles: Light a seasonal scented candle while enjoying your candy. The aromas of cinnamon or pine can elevate the festive mood.
By incorporating these ideas, you’ll not only savor the old-fashioned candy but also create moments that echo warmth and togetherness during the holiday season.
Time Breakdown for Making The Old-Fashioned Candy
Creating the cherished old-fashioned candy my grandma always made for Christmas is a delightful experience, but it does require a little bit of timing. Understanding how long each step takes can help make your candy-making journey smooth and enjoyable.
Preparation time
The first thing to consider is the preparation time, which usually takes about 15-20 minutes. This involves gathering your ingredients, measuring them out, and any necessary chopping or mixing to get ready for cooking.
Cooking time
Next is the cooking time, which typically lasts around 30-40 minutes. During this phase, you’ll be stirring your mixture, carefully monitoring the temperature, and waiting for that perfect consistency that makes old-fashioned candy so delectable.
Total time
In total, you can expect the entire process to take around 50-60 minutes. With a little patience and attention to detail, you’ll create a wonderful treat that embodies the spirit of Christmas memories. Enjoy the process as much as the end result!
Nutritional Facts for The Old-Fashioned Candy
Understanding the nutritional facts for your beloved old-fashioned candy adds a layer of insight that can make those cherished Christmas moments even sweeter. This candy isn’t just a treat; it’s a dive into nostalgia!
Calories
One serving of this delightful old-fashioned candy contains approximately 120 calories. While it’s a guilty pleasure, enjoying it in moderation can bring joy without guilt.
Carbohydrates
Each serving offers about 28 grams of carbohydrates. Most of these come from the sugary goodness that defines this candy, making it a delightful energy booster around the holidays.
Sugar
With around 20 grams of sugar per serving, this old-fashioned candy is definitely a sugary indulgence. It captures the essence of holiday sweetness, perfect for satisfying your cravings and igniting festive joy during the season.
FAQs about The Old-Fashioned Candy
How should I store the candy?
To keep your old-fashioned candy fresh and delicious, storage is key. I recommend placing the candy in an airtight container at room temperature. This way, it stays chewy and flavorful. If you live in a particularly warm climate, you might want to consider the refrigerator to prevent any melting or stickiness. Just be sure to let it come to room temperature before indulging, as the flavors really shine when it’s slightly warmed.
Can I use different types of chocolate?
Absolutely! While the traditional recipe for this old-fashioned candy typically calls for semi-sweet chocolate, feel free to mix it up. Dark chocolate adds a rich, deeper flavor, and if you’re a fan of sweetness, milk chocolate can be a delightful alternative. You can also experiment with flavored chocolates like mint or orange for a unique twist. The key is to ensure whatever chocolate you choose has high quality, as it will enhance the overall taste of the candy.
Is this candy recipe suitable for gifting?
Yes, without a doubt! This old-fashioned candy makes for a heartfelt gift during the holiday season. You can package it beautifully in decorative tins or mason jars and even personalize them with handwritten labels. It’s not just a treat; it’s a trip down memory lane, reminding your loved ones of cozy holiday gatherings. Plus, who wouldn’t appreciate homemade candy? Trust me, it’s bound to bring some smiles and warmth along with it.
Conclusion on The Old-Fashioned Candy My Grandma Always Made for Christmas
Cherishing family traditions through sweet treats
As we gather around to enjoy the old-fashioned candy my grandma always made for Christmas, I’m reminded of the warmth and love infused into every batch. These sweets aren’t just about indulgence; they represent cherished family traditions that connect us across generations.
Making this recipe is more than just a cooking activity; it’s an opportunity to create lasting memories with family and friends. So, as you whip up this delightful candy, share stories, laughter, and the joy of the season. Embrace the spirit of giving by packaging some to share with loved ones, keeping those sweet memories alive.
Print
Butterscotch Marshmallow Bars
- Total Time: 1 hour 45 minutes
- Yield: 24 pieces 1x
- Diet: Vegetarian
Description
Delicious butterscotch marshmallow bars with a crispy base, perfect for any occasion!
Ingredients
Scale
- 1 can nonstick cooking spray
- 1 box yellow cake mix (13 to 15 oz)
- 8 tablespoons unsalted butter, melted
- 4 tablespoons cold unsalted butter, cut into 4 pieces, divided
- 1 large egg, lightly beaten
- 3 cups mini marshmallows
- 1 bag butterscotch chips (11 to 12 oz)
- 2/3 cup light corn syrup
- 2 cups lightly salted dry-roasted peanuts
- 2 cups Rice Krispies cereal
Instructions
- Place a rack in the middle of the oven. Make a foil sling for a 9 x 13-inch metal baking pan. Lay 2 sheets of foil in the pan perpendicular to each other, with extra foil hanging over the edges of the pan. Push the foil into the corners and up the sides of the pan. Grease the foil with cooking spray.
- In a medium bowl, stir together the cake mix, melted butter, and egg until combined. Using greased hands, press the mixture evenly into the bottom of the prepared pan and bake until golden brown, 10 to 12 minutes.
- Sprinkle the marshmallows evenly over the warm crust and bake until melted, about 3 minutes.
- While the marshmallows melt, in a large saucepan melt the butterscotch chips, corn syrup, and the remaining 4 tablespoons of cold butter over medium heat until the chips are completely melted, 5 to 7 minutes. Stir the mixture frequently as it melts. Remove from the heat. Gently stir in the peanuts and cereal until fully coated with the butterscotch mixture.
- While the crust and marshmallows are still warm, dollop the cereal mixture over the melted marshmallows in an even layer. Let the bars sit at room temperature until set, about 1 hour and 30 minutes.
- Using the foil overhang, lift the bars out of the pan and transfer to a cutting board. Cut into 24 pieces. Serve. Store the bars in an airtight container at room temperature for up to 3 days.
Notes
- Love the recipe? Leave us stars and a review below!
- Prep Time: 15 minutes
- Cook Time: 15 minutes
- Category: Dessert
- Method: Baking
- Cuisine: American
Nutrition
- Serving Size: 1 piece
- Calories: 180
- Sugar: 15g
- Sodium: 90mg
- Fat: 7g
- Saturated Fat: 4g
- Unsaturated Fat: 2g
- Trans Fat: 0g
- Carbohydrates: 26g
- Fiber: 1g
- Protein: 2g
- Cholesterol: 30mg